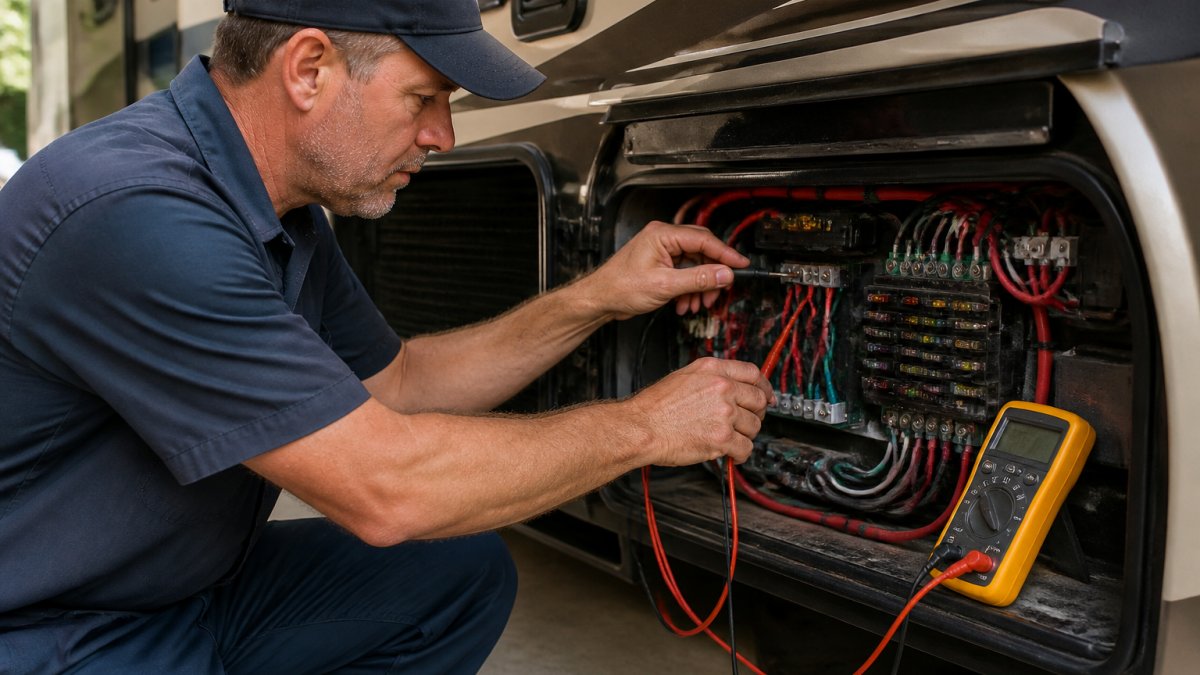
 how-to
How to Troubleshoot RV Electrical System Issues
Last Updated: November 1, 2026
Quick Summary
RV electrical troubleshooting starts with confirming what still works, then separating 12-volt DC faults from 120-volt AC faults before tracing the fault from the failed device back toward the power source. The first point where power disappears is your fault, so work in order and never guess.
- A healthy flooded or AGM battery at rest reads about 12.6 volts; 12.0 volts or below is deeply discharged.
- With shore power on, the battery should read 13.6 to 14.4 volts DC if the converter is charging.
- Replace a blown blade fuse with the same amperage rating, never a higher one.
- A tripped GFCI outlet cuts power to every outlet downstream of it, so press reset and retest.
- Stop and call a technician if you see scorched wiring, smell burning insulation, or cannot identify which circuit is live.
Table of Contents
- Start Here: A Safe, Ordered Diagnostic Flow for RV Electrical Troubleshooting
- RV 12-Volt System Troubleshooting: Battery, Terminals, and Fuses
- RV 120-Volt Power Problems: Shore Power, Pedestals, Breakers, and GFCI Outlets
- How to Use a Multimeter for RV Electrical Troubleshooting
- RV Converter Troubleshooting and Intermittent Power Loss
- Book a Mobile Electrical Diagnosis With a Certified Technician
- Frequently Asked Questions
Start Here: A Safe, Ordered Diagnostic Flow for RV Electrical Troubleshooting
RV electrical troubleshooting starts with one rule: never guess. A dead outlet, a dead light, or a dead fridge all point to different systems, and jumping straight to a fix usually means replacing parts that were never broken.
Here is the flow we use. Work through it in order, and do not skip ahead.
Step 1: Confirm What Still Works
Write down what works and what does not. Lights dead but outlets live? That points to the 12-volt DC side. Outlets dead but lights fine? That points to the 120-volt AC side. This five-minute check narrows the fault before you touch a tool.
Step 2: Separate AC From DC Faults
Your RV runs two electrical systems. 12-volt DC powers lights, the water pump, the furnace fan, and the control boards. 120-volt AC powers outlets, the air conditioner, the microwave, and the converter. They meet at the distribution panel, but they fail in different ways. Test one system at a time.
Step 3: Trace the Fault to Its Source
Start at the device that failed and work backward toward the power source. Check the outlet, then the breaker, then the pedestal.
If you want the full step-by-step version with more detail, our RV electrical troubleshooting guide walks through every stage.
Watch out: never open the distribution panel or probe live AC wiring unless you are trained to do it.
RV 12-Volt System Troubleshooting: Battery, Terminals, and Fuses
Most 12-volt failures come down to a short list of causes, but the order you check them in matters. Work from the battery outward, and stop testing the moment a reading tells you the fault is upstream.
Step 1: Read the battery at rest
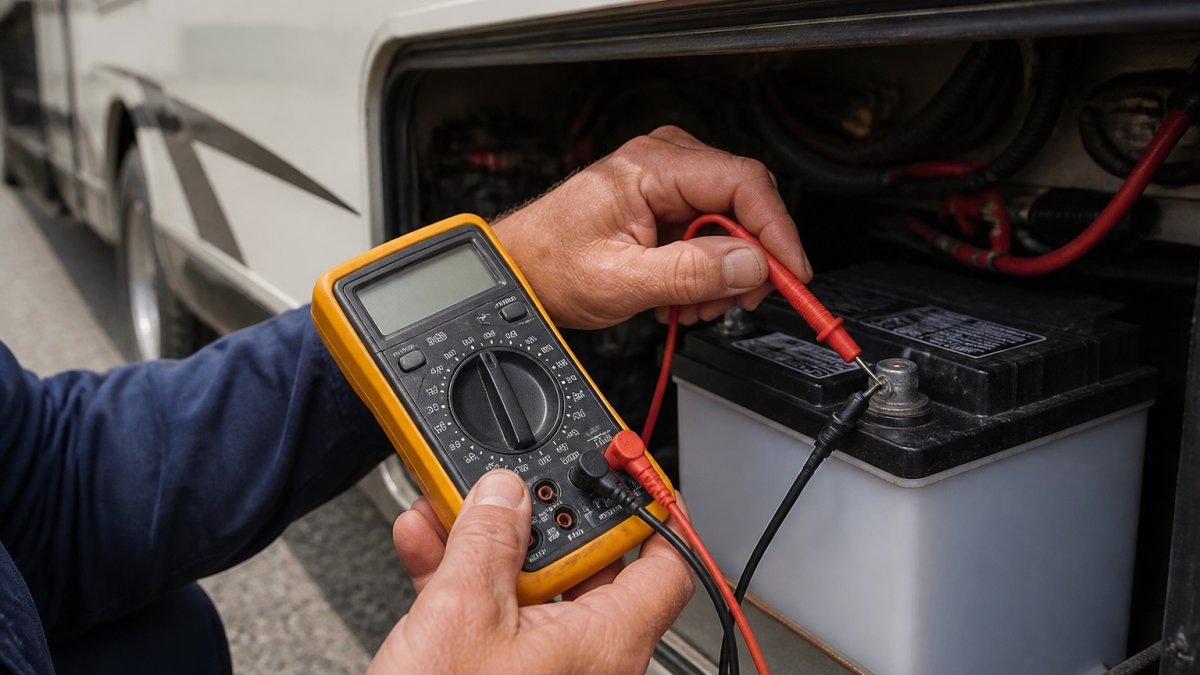
Turn off the charger and any load, wait about an hour, and read the battery with a multimeter set to DC volts. A healthy flooded or AGM battery at rest reads about 12.6 volts. Roughly 12.4 volts is about 75 percent charged, 12.2 volts is about 50 percent, and anything at or below 12.0 volts is deeply discharged.
Step 2: Inspect and clean the terminals
White or green crust is corrosion, and corrosion adds resistance that starves the circuit under load. Disconnect the negative cable first, clean both posts and clamps with a wire brush, and reconnect. A terminal that is tight but warm to the touch after a few minutes of load is a sign of a poor connection, not a bad battery.
Step 3: Check fuses and 12-volt reset breakers
A blade fuse with a visibly broken metal strip is blown. Replace it with the same amperage rating, never a higher one, because the fuse is sized to protect the wire, not the device. Many rigs also use a small push-button or auto-reset 12-volt breaker near the battery or in the distribution panel; a tripped one will not pass voltage until it resets or is replaced.
Step 4: Confirm the converter is charging
With shore power or generator power on, the battery should read 13.6 to 14.4 volts DC. If it sits at battery voltage only, the converter is not charging and the 12-volt system is running off the battery alone. That is the most common reason lights dim over a few hours and the battery drains overnight.
Symptom-to-cause quick map
| What you see | Likely circuit | Next check |
|---|---|---|
| All 12-volt items dead, outlets fine | Battery, main 12-volt breaker, or converter | Battery voltage at rest, then converter output |
| Lights dim only when the furnace or pump runs | Loose or corroded connection, undersized wire | Voltage drop at the fixture under load |
| One fixture dead, others fine | Branch fuse or fixture ground | Fuse at the panel, then ground at the fixture |
| Battery drains overnight with everything off | Parasitic draw or failed converter | Clamp meter on the negative cable, then converter output |
If the battery reads good, the terminals are clean, the fuses are intact, and the converter is charging, the fault is downstream in the wiring. That is the point to stop swapping parts and trace the circuit with a meter.
For a deeper list of fixes, see our guide to common RV electrical problems and solutions.
RV 120-Volt Power Problems: Shore Power, Pedestals, Breakers, and GFCI Outlets
When 120-volt power fails, the fault is usually outside the rig. Test the pedestal first with a multimeter.
If the pedestal is live, check your shore power cord for damage, then the main breaker inside the RV.
A ground fault often traces to water. Check for moisture in exterior outlets and around the converter.
Our focused guide on RV electrical issues troubleshooting covers shore power and 120-volt faults in more depth.
How to Use a Multimeter for RV Electrical Troubleshooting
A multimeter is the one tool that turns guessing into diagnosing, but only if you set it correctly and know what the numbers mean. Most DIY electrical mistakes happen at the meter, not at the part.
Set the meter correctly
- DC volts for batteries, 12-volt circuits, and converter output.
- AC volts for outlets, shore power, and generator output.
- Continuity (or resistance) only on a circuit that is de-energized, unplug shore power, turn off the inverter, and disconnect the battery negative before testing a wire or fuse.
How to read the numbers
| Test point | Expected reading | What it tells you |
|---|---|---|
| Battery at rest | About 12.6 V DC | Healthy and charged; below 12.0 V is deeply discharged |
| Battery with charger on | 13.6 to 14.4 V DC | Converter is charging; battery voltage only means it is not |
| Outlet | About 120 V AC | Shore or generator power is good |
| Outlet with GFCI tripped | 0 V AC | Reset the GFCI and retest downstream outlets |
| Fuse (continuity) | Beep or near-zero ohms | Fuse is good; no beep means blown |
| Wire end to end (continuity) | Beep or near-zero ohms | Wire is intact; no beep means an open circuit |
A reading that is present but low, say 108 V AC at an outlet instead of 120 V AC, points to a loose connection, an undersized cord, or a failing pedestal rather than a dead circuit. A reading that flickers or drops under load points to a connection that is heating up.
Test in the right order
Touch the black probe to a known ground and the red probe to the test point, and keep your fingers behind the probe guards. On the DC side, test at the battery first, then at the fuse, then at the fixture, the first point where voltage disappears is your fault. On the AC side, test the pedestal first, then the shore cord, then the main breaker, then the outlet.
When to stop and call a technician
Stop testing and call a qualified technician if you see scorched wiring, smell burning insulation, find a reading that changes when you wiggle a wire, or cannot identify which circuit is live.
RV Converter Troubleshooting and Intermittent Power Loss
The converter changes 120-volt AC into 12-volt DC and charges your battery.
Test the converter output at the battery with the charger on. You should see 13.6 volts or more.
Intermittent power loss is the hardest fault to catch because it depends on load.
Newer systems add solar, inverters, transfer switches, and lithium batteries.
Book a Mobile Electrical Diagnosis With a Certified Technician
Some faults need a trained eye and the right meter. If you have traced the obvious causes and power is still failing, stop replacing parts. Our team at Done Right RV Repair LLC brings RVTI Master Certified technicians to your site, backed by 24 additional factory and brand certifications.
You can review our RV repair services or book your RV repair directly. We come to your home, campsite, or storage facility, so there is no towing required.
Frequently Asked Questions
Why does my RV have 12-volt power but no 120-volt power?
That pattern almost always points to an AC-side fault, not a battery problem. Check the shore power cord and the pedestal breaker first, then the main breaker and GFCI outlets in your distribution panel. A tripped breaker or a dead pedestal outlet will kill all 120-volt power while your 12-volt lights and fans keep running off the battery. If the pedestal tests fine and your panel breakers are not tripped, the fault is likely in the cord, the inlet, or the transfer switch.
How can I tell if my RV converter is working?
With shore power connected, measure voltage at the battery terminals. A working converter should push the reading above 13 volts, often 13.2 to 13.6. If the battery sits at 12.6 or lower while plugged in, the converter is not charging. Also listen for the cooling fan and check the reverse-polarity fuses on the converter itself. RV converter troubleshooting usually starts with those two fuses before you suspect the unit has failed.
Can I troubleshoot RV electrical problems myself?
You can safely handle the basics: checking battery terminals for corrosion, testing fuses, resetting breakers, pressing the GFCI reset button, and taking voltage readings with a multimeter. Stop and call a certified technician for anything involving the distribution panel interior, exposed wiring, a burning smell, or repeated breaker trips. Those point to a ground fault or loose connection that needs a trained eye, and 120-volt AC carries enough current to injure you.
Why does my RV keep tripping the breaker?
A breaker that trips once is usually a temporary overload. One that trips repeatedly means something specific: too many appliances on one circuit, a failing appliance, a loose connection heating up, or a ground fault. Unplug loads one at a time and reset the breaker after each to isolate the culprit. If it trips with nothing plugged in, stop resetting it and get the circuit tested, because that pattern often signals damaged wiring.
Electrical faults rarely fix themselves, and a small loose connection can turn into a dead battery or a tripped main breaker at the worst moment. If your diagnosis stalls, let a certified technician take it from there. Get started with Done Right RV Repair LLC and get your rig back to road-ready.
